Calendar Module
The Calendar module in Planovik AI provides a visual timeline to manage tasks and align commitments with external calendar meetings. It allows you to track workload distribution, drag tasks between days, and automatically synchronize schedules with external calendar providers.
Where to find the calendar: Select “Calendar” in the sidebar ribbon or switch the view mode to “Calendar” in the Tasks module header. Where to configure sync: Click your profile in the top-right corner of the header → select “Settings” → “Calendars” tab (available on Start, Pro, and Team plans).
1. Grid View Modes
Section titled “1. Grid View Modes”The calendar supports two primary scheduling horizons:
- Month: Bird’s-eye view of monthly deadlines and workload balance across weeks.
- Week: Weekly timeline with daily breakdown for short-term operational planning.
- Unscheduled Tasks Panel: Dedicated sidebar for unscheduled tasks that can be dragged directly onto any calendar day.
Calendar Navigation:
Section titled “Calendar Navigation:”- “Today” button: Quickly resets view to the current date.
- ”‹” and ”›” buttons: Move to previous or next month/week.
- “Month / Week” toggle: Switches between display ranges with persistent preference.
2. Managing Tasks on the Calendar
Section titled “2. Managing Tasks on the Calendar”- One-Click Creation: Click any day cell in the calendar grid to create a task with prefilled date.
- Rescheduling: Drag and drop task cards between days to update start and due dates quickly.
- Assigning Dates: Drag items from the “Unscheduled” side panel directly into a target day.
- Card Details: Clicking a task card opens the detailed panel with subtasks, checklists, notes, and timers.
3. Synchronization with Yandex Calendar and Google Calendar
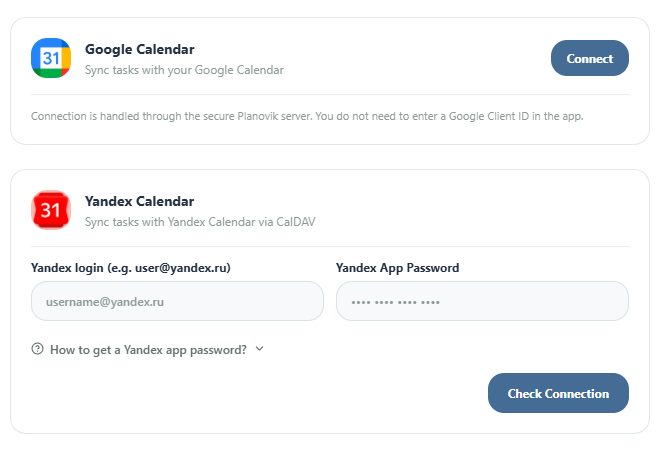
Section titled “3. Synchronization with Yandex Calendar and Google Calendar”The “Calendars” tab in Account Settings acts as the centralized connection hub:
3.1. Connecting Providers
Section titled “3.1. Connecting Providers”- Yandex Calendar: Enter your Yandex username (e.g.
user@yandex.ru) and Yandex App Password, then click “Check connection”. - Google Calendar: Click “Connect” and approve access in the official Google OAuth prompt.
3.2. Features Unlocked After Connection
Section titled “3.2. Features Unlocked After Connection”Once a provider is connected, additional management controls appear inside its card:
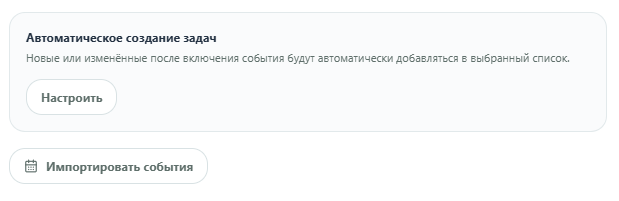
- Calendar Selection: Choose the target calendar from your account.
- Automatic Task Creation (“Configure” button): New or modified events from the external calendar will automatically be created as tasks in your chosen workspace and list.
- Import Events: View upcoming meetings, select items with checkboxes, and batch import them into tasks.
3.3. Sync Action Buttons
Section titled “3.3. Sync Action Buttons”At the bottom of the “Calendars” tab, synchronization actions become active:
- “Sync tasks”: Exports scheduled tasks from Planovik AI to the connected calendar (creates new entries, updates date shifts, and removes completed tasks).
- “Pull changes”: Ingests meetings and external events from the calendar into Planovik AI to prevent schedule overlaps.